Clinics
Reception Services and Power Planning for Clinics
Locate the equipment first, then coordinate outlets, switches and maintenance access with the relevant trades.
Explore the ideas
Walkthrough checklist
- Make a schedule of fixed and portable equipment and note where each will actually be used.
- Overlay service routes and outlets on the furniture drawings before approving joinery.
- Keep shutoffs and frequently serviced connections reachable and have the relevant specialist verify the provision.
Worked example
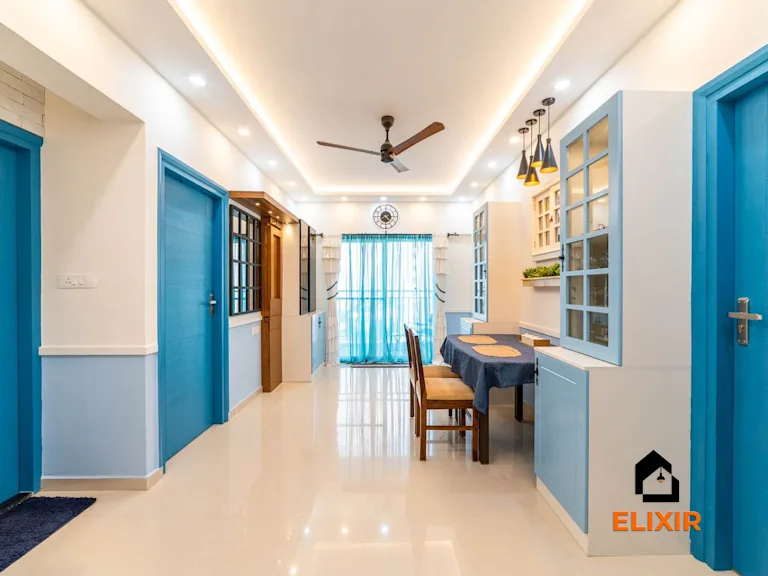
A planned entry cabinet would cover the existing switch and a low outlet used for a vacuum.
Mark the switch and outlet on the cabinet elevation, then position the storage around access and cleaning use. Have the relevant trade verify any relocation before joinery is approved.
How to test it
Check locations against the final furniture and appliance drawings before walls or cabinets are closed.
Apply it to this space
- Layout
- Place reception in sight of the entry and create a modest offset between the queue and waiting seats.
- Detail
- Use a cleanable counter surface and a lower, quieter conversation position away from the queue.
- Trade-off
- More counter length supports several staff but can feel institutional.
- Listen from the nearest waiting seat
- Check the queue leaves the entrance clear

The Elixir portfolio
Details worth a closer look