Clinics
Examination Room Floor Plan for Clinics
Draw three layers on the measured plan: fixed points, activities and movement. Move the activities around before moving any walls.
Explore the ideas
Plan in this order
- Start with columns, windows, door swings and service points on a single measured drawing.
- Place the highest-frequency activity first. Put the equipment or storage it uses within the same zone.
- Trace the longest everyday trip and any crossing routes. Show both with furniture and doors in use.
Worked example
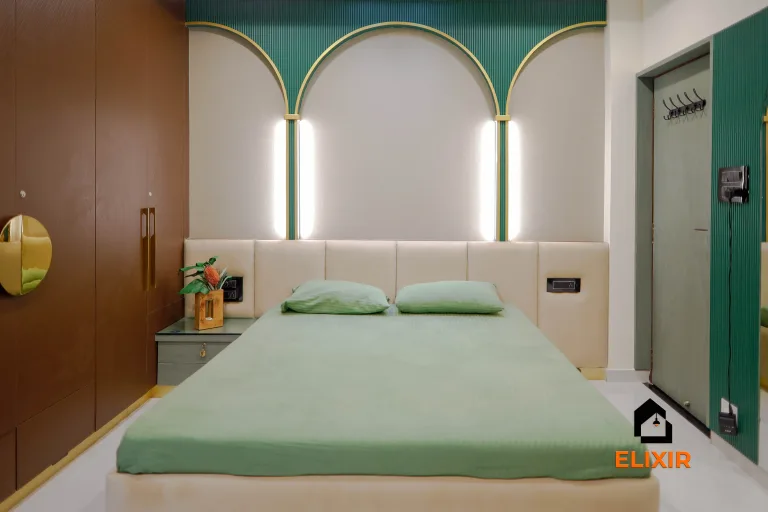
Imagine a bedroom where a caregiver helps with a morning routine while the resident prefers to choose clothes and keep personal items private.
Map the sequence with the resident and caregiver, including where each person stands. Put clothing and support items near their point of use, preserve a clear exit route, and agree which storage remains private.
How to test it
Ask someone unfamiliar with the plan to walk through a normal visit and point out where they would hesitate.
Apply it to this space
- Layout
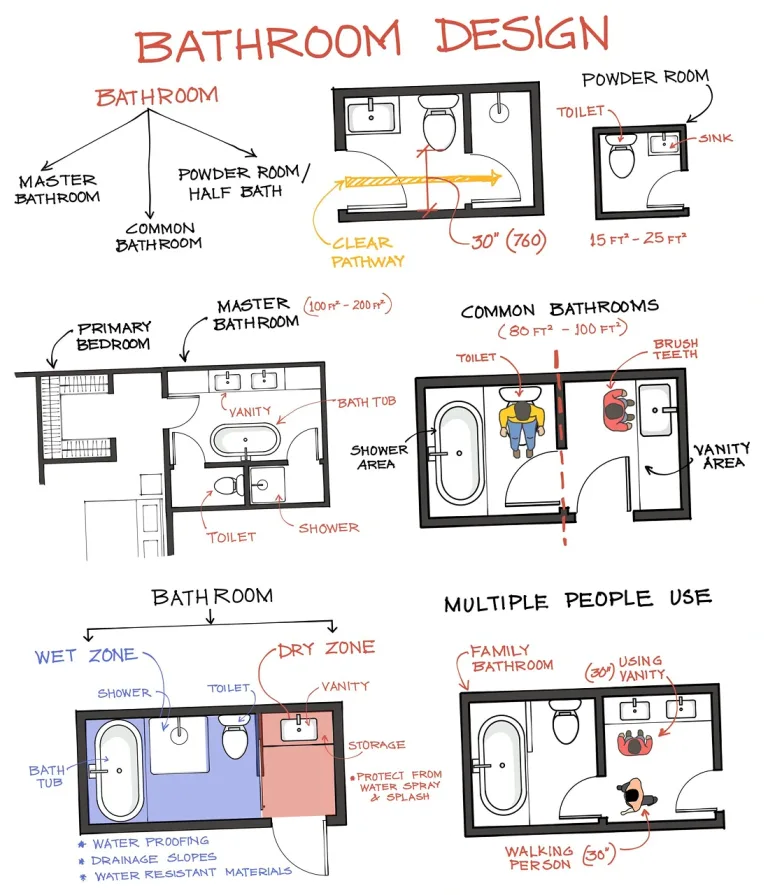
- Keep the examination surface accessible from working sides and place a screen between the door and changing area.
- Detail
- Use easy-clean flooring and task lighting directed to the examination area with a separate ambient source.
- Trade-off
- More equipment storage can constrain staff movement.
- Walk the clinician route around the surface
- Check changing privacy from the doorway
The Elixir portfolio
Details worth a closer look