Elixir layout studio

Guest Bathroom Layout Planner for Hotels

Compare three guest bathroom layouts for hotels. Set your wall dimensions, check door swing and see how much open floor each option leaves.

Open the planner
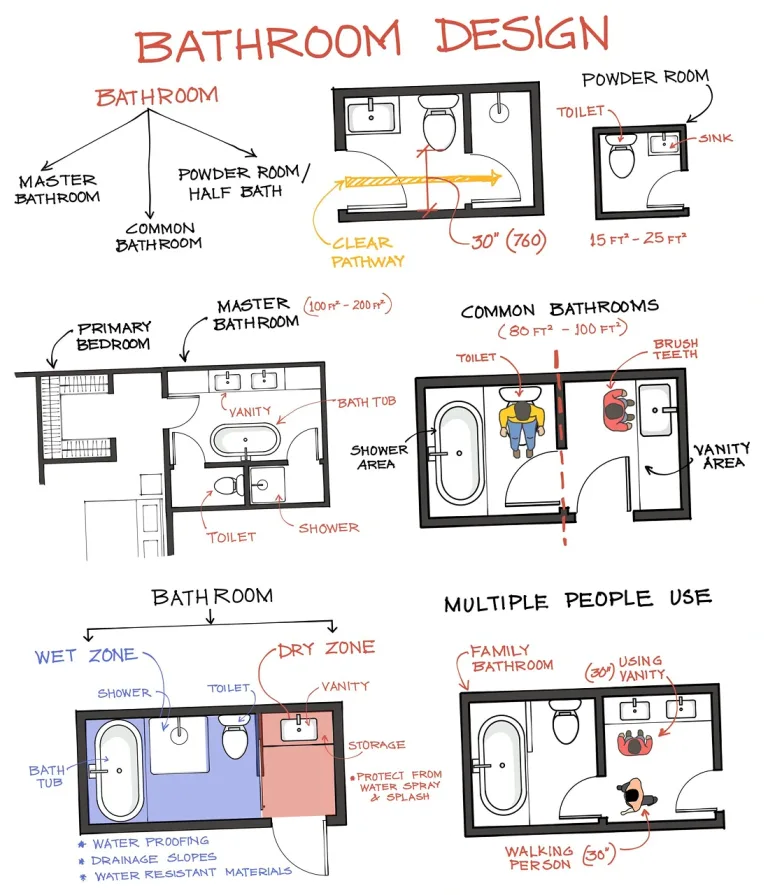
Illustrated bathroom design sheet showing several fixture and floor-plan arrangements
Bathroom planning reference: compare fixture arrangements before selecting finishes.

Elixir · Layout study

Three ways to plan the room

Compare bathroom fixture arrangements against the existing drain, water points, door swing and shower entry. Footprints are illustrative fixture sizes, not prescribed clearances; have the project team verify the selected products and installation conditions.

Working canvas10 × 10 ft

10 × 10 ft/100 sq ft/3 of 3 layouts fit

Share this size
At a glance

Compact wet zone leaves the most open floor area · 84.8 sq ft

Illustrative footprints only. Check actual openings, columns, connections, operating space, and applicable requirements on site. Shared links save room size; door settings stay in this session.

Study 01

Shower at back

Fits
Shower at back plan at 10 by 10 feetScaled room outline with 3 numbered furniture footprints, annotated wall dimensions. Element dimensions and the key appear in Plan notes.12310′ 0″10′ 0″FRONTBACK WALL
Open floor
80.6 sq ft
Clear rectangle
4′ 8″ × 10′ 0″
Plan notes 3 elements
  1. 1Shower3′ 0″ × 3′ 0″
  2. 2Vanity1′ 10″ × 2′ 6″
  3. 3Toilet2′ 4″ × 2′ 6″

Place the shower at the far end and keep the entry-side floor as a dry approach to vanity and toilet. Confirm screen position against the door and towel location.

Trade-off: A back shower can simplify the wet zone but may require service changes if existing points are elsewhere.
Study 02

Shower on side wall

Fits
Shower on side wall plan at 10 by 10 feetScaled room outline with 3 numbered furniture footprints, annotated wall dimensions. Element dimensions and the key appear in Plan notes.12310′ 0″10′ 0″FRONTBACK WALL
Open floor
79.1 sq ft
Clear rectangle
4′ 8″ × 10′ 0″
Plan notes 3 elements
  1. 1Shower3′ 0″ × 3′ 6″
  2. 2Vanity2′ 6″ × 1′ 10″
  3. 3Toilet2′ 4″ × 2′ 6″

Use the side wall when the plan’s plumbing and window positions favor it. Check the screen opening and keep the vanity mirror outside direct spray.

Trade-off: A side shower can leave a longer dry counter but may create a narrow passage beside the fixtures.

Study 03

Compact wet zone

Fits
Compact wet zone plan at 10 by 10 feetScaled room outline with 3 numbered furniture footprints, annotated wall dimensions. Element dimensions and the key appear in Plan notes.12310′ 0″10′ 0″FRONTBACK WALL
Open floor
84.8 sq ft
Clear rectangle
5′ 2″ × 10′ 0″
Plan notes 3 elements
  1. 1Shower2′ 8″ × 2′ 8″
  2. 2Vanity1′ 6″ × 2′ 0″
  3. 3Toilet2′ 2″ × 2′ 4″

Keep fittings compact and concentrate splash-prone activity at the back while preserving reachable towel storage at the dry edge. Check actual fixture projections before finalizing.

Trade-off: Smaller fixtures can release floor area but may reduce storage, basin use comfort or shower elbow room.

The Elixir portfolio

Details worth a closer look

Photographs for design inspiration
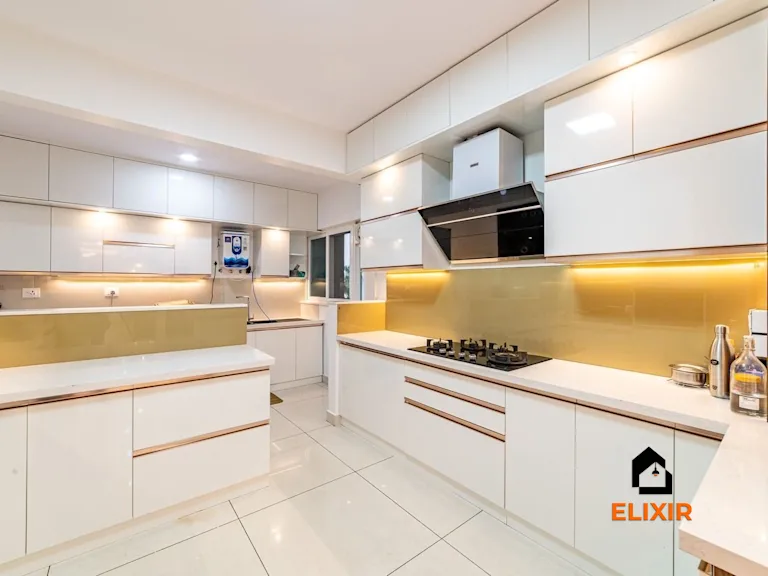
Light, reflective tile backsplash beside a white counter and cabinetry
Surface inspiration: consider how reflective finishes respond to task lighting.
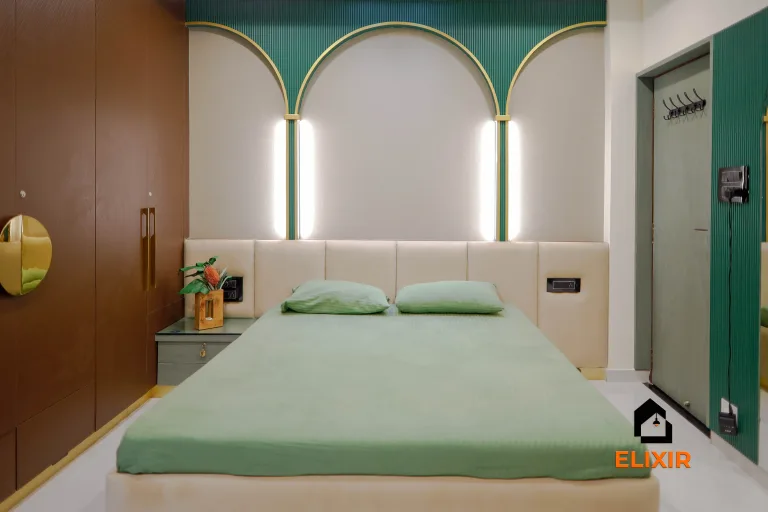
Warm wood cabinetry and softly lit arched wall niches
Material inspiration: warm wood tones and concealed accent lighting.
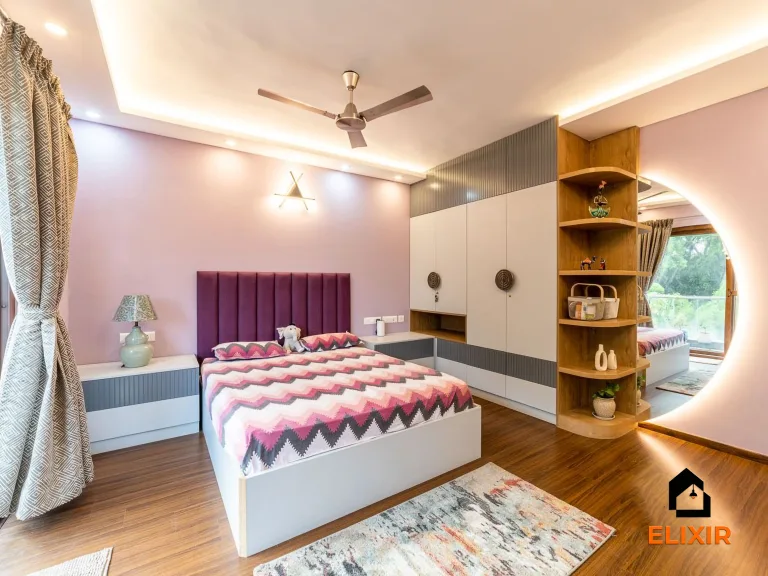
Bedroom corner with a round mirror, upholstered headboard and display shelves
Mirror and lighting reference: review reflections from seated and standing positions.

Before you measure

Room notes and site checks
Layout
Separate shower splash from vanity and place towel storage within easy reach of the shower exit.
Detail
Use slip-conscious floor finishes, moisture-tolerant joinery, and even mirror lighting.
Trade-off
A larger shower improves comfort but reduces vanity or storage space.
  • Test splash outside the shower
  • Check toiletries and towels are reachable
  • Locate existing water, waste and ventilation points before comparing relocation options.
  • Test door and screen movement with the selected fixture dimensions and towel position.
  • Review floor drainage, wet-dry transitions and cleaning access with the installer.

Continue planning this space

Talk to a Designer