Elixir layout studio

Kitchen Layout Planner for Independent homes

Compare three kitchen layouts for independent homes. Set your wall dimensions, check door swing and see how much open floor each option leaves.

Open the planner
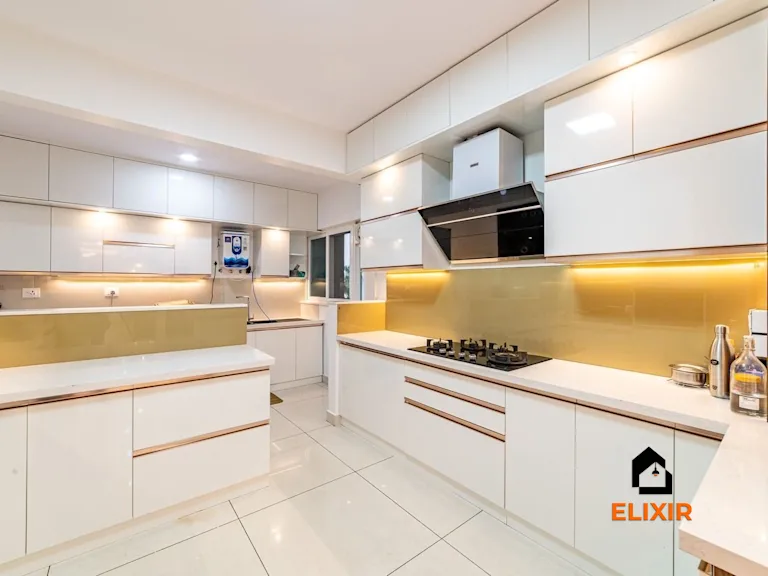
White L-shaped kitchen with gold-tone handles, under-cabinet lighting and a chimney
Kitchen inspiration: an L-shaped work surface and integrated lighting.

Elixir · Layout study

Three ways to plan the room

Compare these kitchen arrangements against fixed doors, windows, service points and the appliances you expect to use. Zone blocks represent movable or planned equipment footprints; retain practical working and passing space around them.

Working canvas10 × 10 ft

10 × 10 ft/100 sq ft/3 of 3 layouts fit

Share this size
At a glance

Single run leaves the most open floor area · 80.8 sq ft

Illustrative footprints only. Check actual openings, columns, connections, operating space, and applicable requirements on site. Shared links save room size; door settings stay in this session.

Study 01

Single run

Fits
Single run plan at 10 by 10 feetScaled room outline with 4 numbered furniture footprints, annotated wall dimensions. Element dimensions and the key appear in Plan notes.123410′ 0″10′ 0″FRONTBACK WALL
Open floor
80.8 sq ft
Clear rectangle
7′ 8″ × 10′ 0″
Plan notes 4 elements
  1. 1Compact refrigerator2′ 4″ × 2′ 0″
  2. 2Sink cabinet2′ 1″ × 2′ 0″
  3. 3Prep counter2′ 1″ × 3′ 0″
  4. 4Compact cooktop cabinet2′ 1″ × 2′ 0″

This 116-inch example uses compact units with the main prep surface between sink and cooktop. Check actual appliance widths, filler panels and landing space before ordering.

Trade-off: Keeping one side free helps through traffic, but a compact cooktop and a short prep run reduce how much two people can do at once.
Study 02

Galley

Fits
Galley plan at 10 by 10 feetScaled room outline with 4 numbered furniture footprints, annotated wall dimensions. Element dimensions and the key appear in Plan notes.123410′ 0″10′ 0″FRONTBACK WALL
Open floor
71.7 sq ft
Clear rectangle
5′ 5″ × 10′ 0″
Plan notes 4 elements
  1. 1Refrigerator2′ 6″ × 3′ 0″
  2. 2Prep counter2′ 1″ × 5′ 0″
  3. 3Sink2′ 1″ × 2′ 6″
  4. 4Cooktop2′ 1″ × 2′ 6″

Assign distinct tasks to the opposing runs and keep landing surfaces beside the sink and cooktop. Draw open oven, refrigerator and drawer fronts together to catch conflicts before choosing cabinetry.

Trade-off: Two useful work faces can make a narrow room feel like a passage; avoid placing the main route through the active prep zone.

Study 03

L-shaped

Fits
L-shaped plan at 10 by 10 feetScaled room outline with 4 numbered furniture footprints, annotated wall dimensions. Element dimensions and the key appear in Plan notes.123410′ 0″10′ 0″FRONTBACK WALL
Open floor
72.7 sq ft
Clear rectangle
7′ 6″ × 7′ 11″
Plan notes 4 elements
  1. 1Refrigerator2′ 6″ × 3′ 0″
  2. 2Prep counter2′ 1″ × 4′ 6″
  3. 3Sink2′ 6″ × 2′ 1″
  4. 4Cooktop2′ 6″ × 2′ 1″

Use the return for either washing or cooking and preserve a continuous preparation surface between tasks. Keep the corner useful with items that do not need frequent, awkward reach.

Trade-off: The open side supports dining or entry movement, while the corner can become hard-to-reach storage if its contents are not planned.

The Elixir portfolio

Details worth a closer look

Photographs for design inspiration
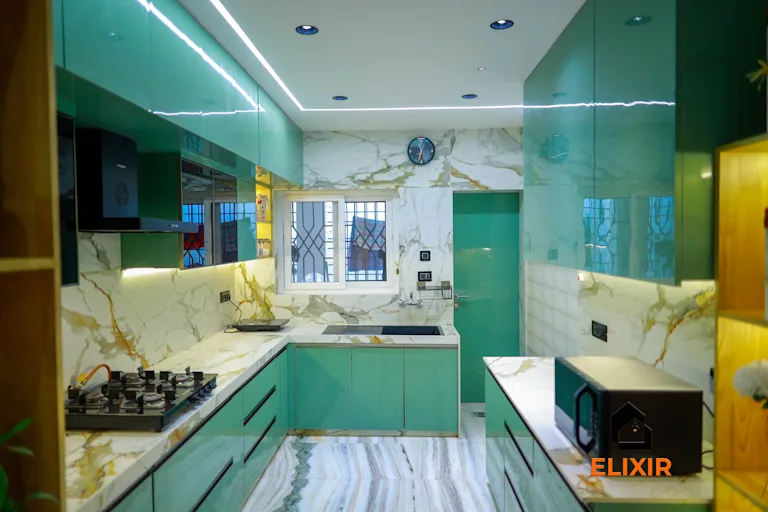
Parallel kitchen with teal cabinets, a pale backsplash and profile lighting
Kitchen inspiration: two opposing work runs in a compact plan.
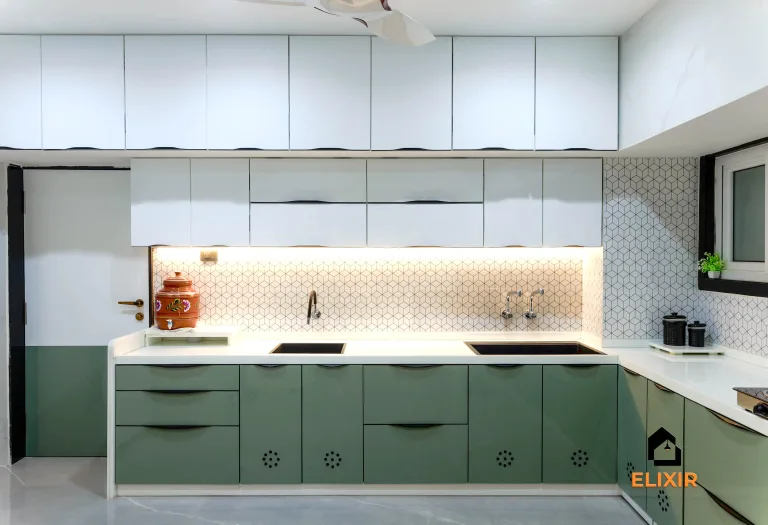
L-shaped kitchen with pale green lower cabinets, white upper cabinets and a tiled backsplash
Kitchen inspiration: a light palette and continuous counter run.
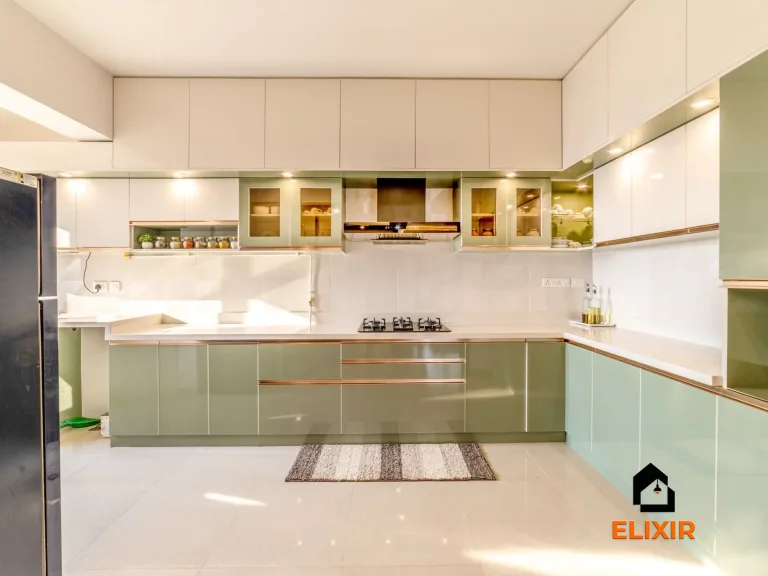
Straight kitchen with sage base cabinets, white wall units and under-cabinet lighting
Kitchen inspiration: a single-wall arrangement with task lighting.

Before you measure

Room notes and site checks
Layout
Separate hot cooking, wet cleanup and pantry access; keep the yard route clear of the work zone.
Detail
Use robust counter surfaces, task lighting and a ventilated pantry for dry goods.
Trade-off
An open kitchen improves connection but carries cooking noise and smells into living space.
  • Trace grocery and waste routes
  • Check daylight and exhaust outlet location
  • Measure appliance bodies, handles, door swings and service points on site.
  • Mark counter landing areas and the route to dining or the exterior door.
  • Test drawer and appliance openings together with another person in the room.

Continue planning this space

Talk to a Designer