Elixir layout studio

10 × 12 ft Bedroom Layout: Bed, Wardrobe and Desk

A centered bed and front-wall wardrobe can preserve a useful passage, but the fit depends on door operation, window position and what happens beside the bed each day.

Open the planner
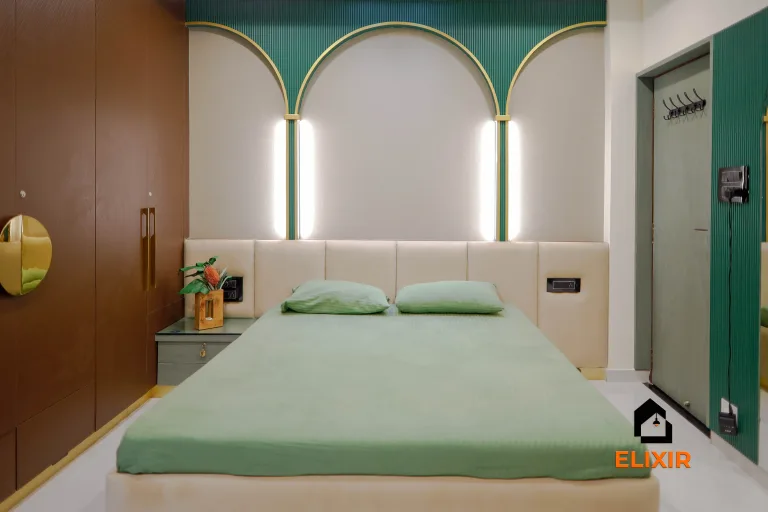
Bedroom with a sage upholstered bed, arched niches and a dark green wardrobe
Bedroom inspiration: a calm bed wall paired with full-height storage.

Elixir · Layout study

Three ways to plan the room

Bedroom layouts depend on bed size, wardrobe operation and how occupants move through the room. The blocks show furniture footprints only; add the real door swings, drawer extensions and comfortable access needed by the household.

Working canvas10 × 12 ft

10 × 12 ft/120 sq ft/3 of 3 layouts fit

Share this size
At a glance

Sleep, dress and work leaves the most open floor area · 83.3 sq ft

Illustrative footprints only. Check actual openings, columns, connections, operating space, and applicable requirements on site. Shared links save room size; door settings stay in this session.

Study 01

Bed on back wall

Fits
Bed on back wall plan at 10 by 12 feetScaled room outline with 2 numbered furniture footprints, annotated wall dimensions. Element dimensions and the key appear in Plan notes.1210′ 0″12′ 0″FRONTBACK WALL
Open floor
76.7 sq ft
Clear rectangle
10′ 0″ × 3′ 4″
Plan notes 2 elements
  1. 1Bed5′ 0″ × 6′ 8″
  2. 2Wardrobe5′ 0″ × 2′ 0″

Center the bed where both occupants can approach their side and keep wardrobe access outside the bedside footprint. Confirm the selected bed dimensions rather than relying on nominal labels.

Trade-off: A balanced bed position uses the back wall effectively but may leave less uninterrupted wall for storage or a desk.
Study 02

Bed along side wall

Fits
Bed along side wall plan at 10 by 12 feetScaled room outline with 3 numbered furniture footprints, annotated wall dimensions. Element dimensions and the key appear in Plan notes.12310′ 0″12′ 0″FRONTBACK WALL
Open floor
71.7 sq ft
Clear rectangle
3′ 4″ × 10′ 0″
Plan notes 3 elements
  1. 1Bed5′ 0″ × 6′ 8″
  2. 2Wardrobe5′ 0″ × 2′ 0″
  3. 3Desk1′ 8″ × 3′ 0″

Try this when the back wall is interrupted by a window or door. Keep the accessible bed side clear and check that desk use does not block the wardrobe.

Trade-off: The side-wall placement can open a central area but gives one bed side less convenient access.

Study 03

Sleep, dress and work

Fits
Sleep, dress and work plan at 10 by 12 feetScaled room outline with 3 numbered furniture footprints, annotated wall dimensions. Element dimensions and the key appear in Plan notes.12310′ 0″12′ 0″FRONTBACK WALL
Open floor
83.3 sq ft
Clear rectangle
7′ 0″ × 6′ 0″
Plan notes 3 elements
  1. 1Bed5′ 0″ × 6′ 0″
  2. 2Wardrobe1′ 6″ × 2′ 0″
  3. 3Desk1′ 6″ × 2′ 6″

Separate dressing and desk functions onto opposite edges where possible, so open wardrobe doors do not interrupt work or bed access. Use a movable drawer unit if routines change.

Trade-off: Combining three functions can reduce visual calm and requires deliberate control of work items and lighting.

The Elixir portfolio

Details worth a closer look

Photographs for design inspiration
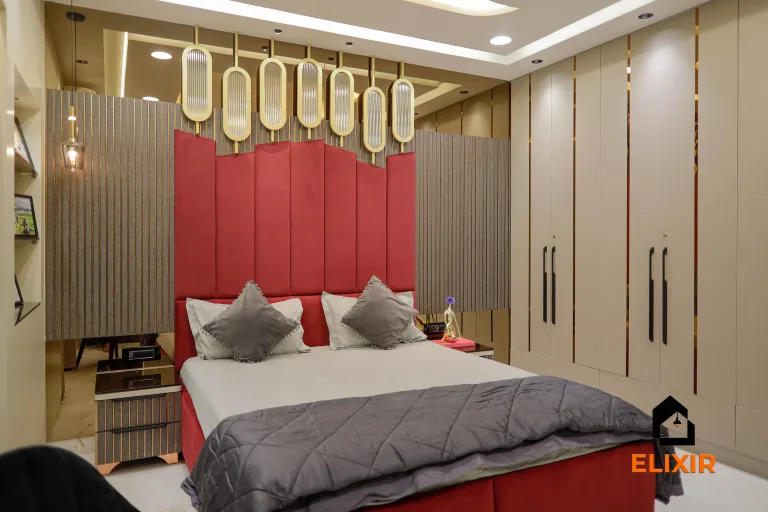
Bedroom with a red upholstered headboard wall, pendant lights and grey wardrobe
Bedroom inspiration: a strong headboard wall with bedside lighting.
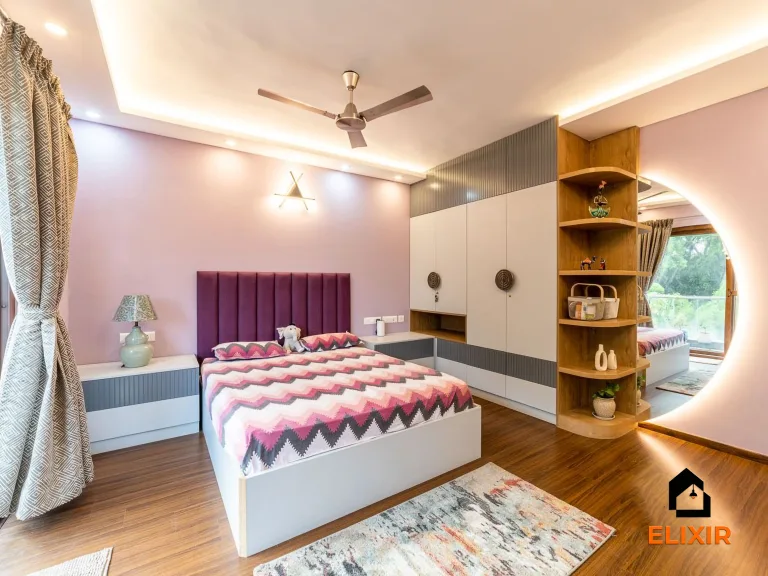
Bedroom with a plum upholstered headboard, round mirror and corner wardrobe
Bedroom inspiration: a dressing corner beside the sleeping zone.
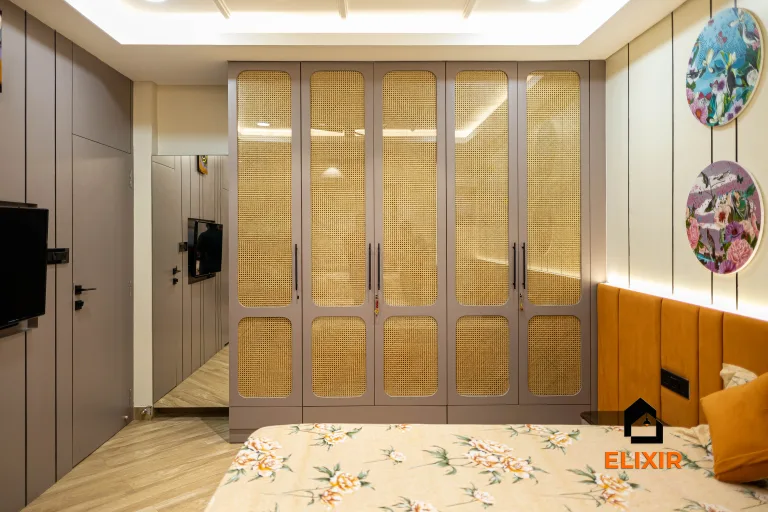
Floor-to-ceiling wardrobe with cane-finish doors beside a fabric-headboard bed
Bedroom inspiration: textured wardrobe fronts and soft bedside materials.

Size study

What fits in 10 × 12 ft

3 of 3 footprints fit before reserving door swing.

Read the center-bed layout as a starting footprint

A 60 × 80 inch bed centered on the 10-foot back wall leaves roughly 30 inches on either side of the mattress footprint. A 24-inch-deep wardrobe on the opposite wall leaves 40 inches between the bed and wardrobe where their footprints overlap, before accounting for drawer or door operation. That is a planning measurement, not a promise of comfortable use: bedding, handles, a person standing at the wardrobe and the entry door all affect the lived space. The centered position can make both sides of the bed reachable and keep the main walking line legible. Check the actual bed frame, headboard projection and wardrobe front before treating the remaining floor as open area.

Compare the side-wall bed before committing

Moving the bed to a side wall can open a wider central strip and create a more direct path from the door to the wardrobe. It may suit one primary sleeper or a room where a desk matters more than equal access to both bed sides. The trade-off is that one side becomes harder to reach for making the bed, changing sheets or getting up at night. Mark the wardrobe doors or drawers fully open and stand where clothes are selected; if that operation blocks the room's main route, try a shorter wardrobe run or shift its position along the front wall. A mirror or hamper also needs a real parking place, not the walking line.

Test the household's sleep, dressing and work sequence

Locate windows and curtains first: a bed centered on the back wall may cover a sill, interrupt curtain movement or place a sleeper in direct morning light. Tape the bed and wardrobe footprints, then rehearse entering, dressing, opening storage and changing the bedding. If the room doubles as a work nook, test the desk chair pulled out while wardrobe doors are open; a slim wall-mounted surface may work better than a full desk. Note where charging, reading light and laundry belong. The best arrangement is the one that supports these repeated tasks without requiring furniture to be moved every morning.

Open floor and footprint conflicts
ArrangementFootprint resultLargest open rectangle
Bed on back wall76.7 sq ft open floor120 × 40 in
Bed along side wall71.7 sq ft open floor40 × 120 in
Sleep, dress and work83.3 sq ft open floor84 × 72 in
Where the door changes the plan

Each test reserves a 32-inch square at the centre of one wall. Move the door in the planner to check your opening.

  • front wall

    Bed along side wall, Sleep, dress and work

    Swing conflict: Bed on back wall.

  • left wall

    None of these options fit with this swing.

    Swing conflict: Bed on back wall, Bed along side wall, Sleep, dress and work.

  • right wall

    None of these options fit with this swing.

    Swing conflict: Bed on back wall, Bed along side wall, Sleep, dress and work.

  • back wall

    None of these options fit with this swing.

    Swing conflict: Bed on back wall, Bed along side wall, Sleep, dress and work.

What an extra foot buys you

Changes to the largest clear rectangle before reserving door swing.

One foot wider · 11 × 12 ft

The same options fit.

  • Bed on back wall: +12 in wide, 0 in deep
  • Bed along side wall: +12 in wide, 0 in deep
  • Sleep, dress and work: -30 in wide, +72 in deep

One foot deeper · 10 × 13 ft

The same options fit.

  • Bed on back wall: 0 in wide, +12 in deep
  • Bed along side wall: +80 in wide, -72 in deep
  • Sleep, dress and work: +36 in wide, -12 in deep

Before you measure

Room notes and site checks
Layout
Place the bed on the longest uninterrupted wall and preserve a clear approach to wardrobe doors.
Detail
Choose sliding wardrobe fronts where swing clearance is limited; add separate bedside lights.
Trade-off
Full-height wardrobes increase capacity but can make the room feel enclosed.
  • Measure bed, wardrobe and passage together
  • Confirm window can open without furniture conflict
  • Measure the bed with bedding edges and the wardrobe with doors or drawers open.
  • Check window operation, curtain stack and daylight at the planned desk position.
  • Walk the nighttime route from bed to door and bathroom without crossing loose rugs or cables.

Continue planning this space

Talk to a Designer