Elixir layout studio

14 × 14 ft Equipment Store Layout for Gyms

Compare scaled 14 × 14 ft equipment store layouts for gyms. See what fits, test door swing and measure open floor area.

Open the planner
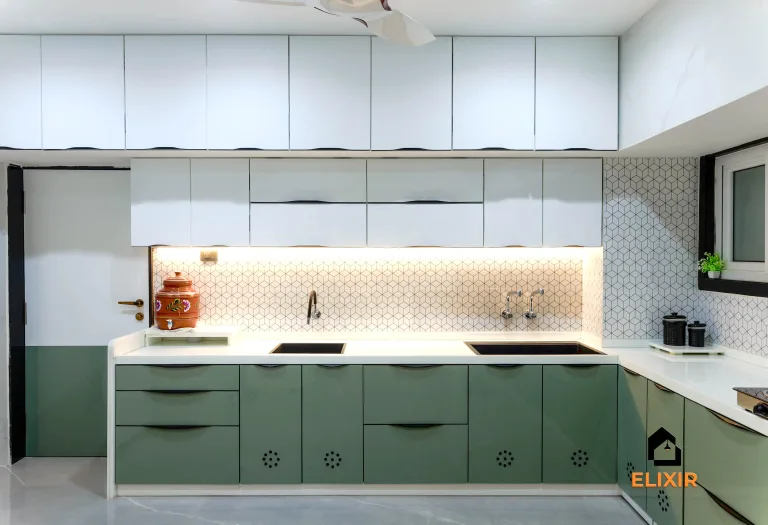
Straight kitchen cabinets with a long counter and under-cabinet lighting
Service inspiration: keep task surfaces and storage easy to reach.

Elixir · Layout study

Three ways to plan the room

Back-of-house stock and receiving rooms need a straightforward path from delivery to storage and then to the point of use. These options place movable shelving and staging surfaces around that sequence.

Working canvas14 × 14 ft

14 × 14 ft/196 sq ft/3 of 3 layouts fit

Share this size
At a glance

Fast movers near the door leaves the most open floor area · 171.6 sq ft

Illustrative footprints only. Check actual openings, columns, connections, operating space, and applicable requirements on site. Shared links save room size; door settings stay in this session.

Study 01

Receiving to shelving

Fits
Receiving to shelving plan at 14 by 14 feetScaled room outline with 3 numbered furniture footprints, annotated wall dimensions. Element dimensions and the key appear in Plan notes.12314′ 0″14′ 0″FRONTBACK WALL
Open floor
167.8 sq ft
Clear rectangle
10′ 0″ × 11′ 6″
Plan notes 3 elements
  1. 1Receiving table4′ 6″ × 2′ 6″
  2. 2Stock shelving2′ 0″ × 4′ 6″
  3. 3Returns and packing2′ 0″ × 4′ 0″

Use the back table to inspect or sort incoming items, store regular stock along the left, and keep returns or packing materials to the right. Preserve an open center route for cartons.

Trade-off: Separating receiving and returns makes each task easier to manage, but leaves less continuous shelf length.
Study 02

Fast movers near the door

Fits
Fast movers near the door plan at 14 by 14 feetScaled room outline with 3 numbered furniture footprints, annotated wall dimensions. Element dimensions and the key appear in Plan notes.12314′ 0″14′ 0″FRONTBACK WALL
Open floor
171.6 sq ft
Clear rectangle
9′ 10″ × 12′ 0″
Plan notes 3 elements
  1. 1Daily-use shelving1′ 8″ × 4′ 0″
  2. 2Reserve stock shelving4′ 6″ × 2′ 0″
  3. 3Cart parking2′ 6″ × 3′ 6″

Keep frequently replenished items along the left near the entry, reserve stock at the back, and park the cart along the right. Label shelf groups by destination or use.

Trade-off: This shortens routine retrieval, but the cart occupies useful floor area when deliveries are not being handled.

Study 03

Order staging and collection

Fits
Order staging and collection plan at 14 by 14 feetScaled room outline with 3 numbered furniture footprints, annotated wall dimensions. Element dimensions and the key appear in Plan notes.12314′ 0″14′ 0″FRONTBACK WALL
Open floor
171 sq ft
Clear rectangle
10′ 6″ × 12′ 0″
Plan notes 3 elements
  1. 1Order staging racks5′ 6″ × 2′ 0″
  2. 2Packing counter2′ 0″ × 4′ 0″
  3. 3Collection cubbies1′ 6″ × 4′ 0″

Stage prepared orders at the back, use the left counter for packing, and keep labeled collection cubbies on the right. Separate customer-accessible pickup from staff-only staging where both functions share a room.

Trade-off: The arrangement supports several order stages, but clear labeling and routine removal of collected items are essential to avoid shelf congestion.

The Elixir portfolio

Details worth a closer look

Photographs for design inspiration
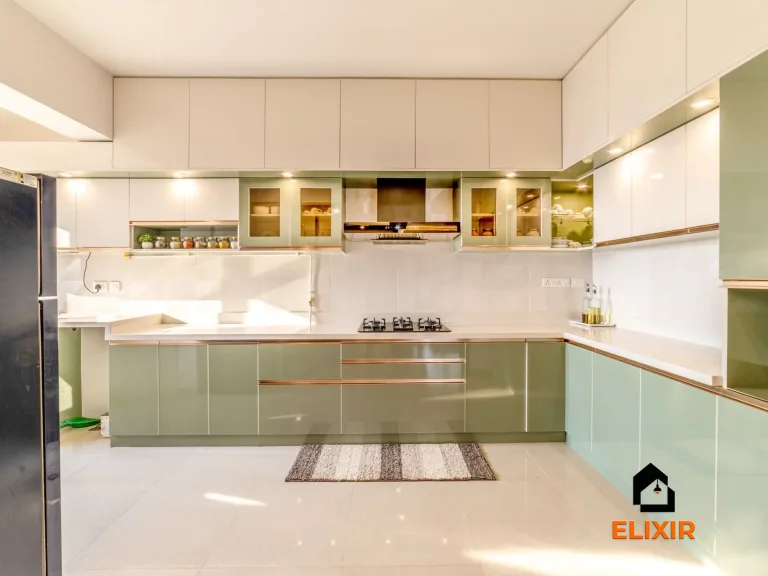
Kitchen with pale green base cabinets and a continuous tiled backsplash
Service inspiration: choose surfaces that can be wiped along work areas.
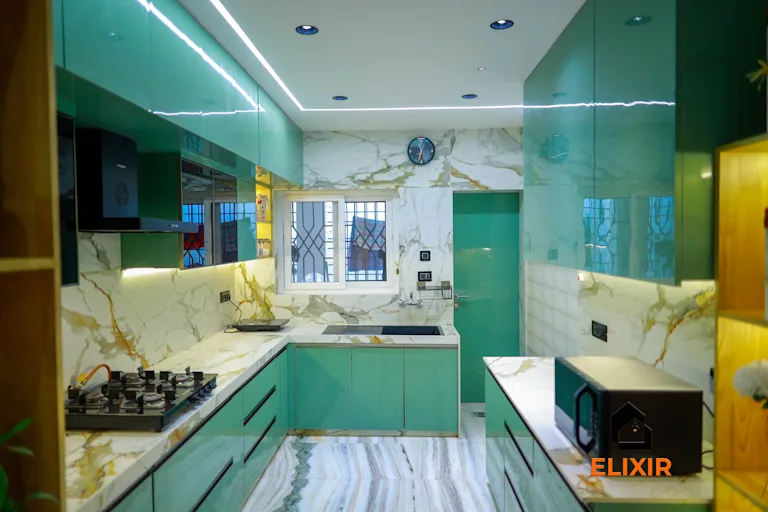
Parallel kitchen with teal cabinets and a continuous counter run
Service inspiration: organize equipment along opposing work runs.

Size study

What fits in 14 × 14 ft

3 of 3 footprints fit before reserving door swing.

Open floor and footprint conflicts
ArrangementFootprint resultLargest open rectangle
Receiving to shelving167.8 sq ft open floor120 × 138 in
Fast movers near the door171.6 sq ft open floor118 × 144 in
Order staging and collection171 sq ft open floor126 × 144 in
Where the door changes the plan

Each test reserves a 32-inch square at the centre of one wall. Move the door in the planner to check your opening.

  • front wall

    Receiving to shelving, Fast movers near the door, Order staging and collection

  • left wall

    None of these options fit with this swing.

    Swing conflict: Receiving to shelving, Fast movers near the door, Order staging and collection.

  • right wall

    None of these options fit with this swing.

    Swing conflict: Receiving to shelving, Fast movers near the door, Order staging and collection.

  • back wall

    None of these options fit with this swing.

    Swing conflict: Receiving to shelving, Fast movers near the door, Order staging and collection.

What an extra foot buys you

Changes to the largest clear rectangle before reserving door swing.

One foot wider · 15 × 14 ft

The same options fit.

  • Receiving to shelving: +12 in wide, 0 in deep
  • Fast movers near the door: +12 in wide, 0 in deep
  • Order staging and collection: +12 in wide, 0 in deep

One foot deeper · 14 × 15 ft

The same options fit.

  • Receiving to shelving: 0 in wide, +12 in deep
  • Fast movers near the door: 0 in wide, +12 in deep
  • Order staging and collection: 0 in wide, +12 in deep

Before you measure

Room notes and site checks
Layout
Put accessory storage beside the zone that uses it, with returns facing the user path.
Detail
Use labeled open racks for frequent items and closed storage for cleaning and maintenance supplies.
Trade-off
Open storage is easy to use but needs regular visual tidying.
  • Return each accessory after use
  • Check storage stays outside movement and exit paths
  • Move a representative delivery from the receiving point to its shelf and confirm cartons can turn without shifting other stock.
  • Open doors, pull bins, and park the largest regularly used cart to check the remaining work area.
  • Trace one item from storage to its service destination and identify any route that crosses incoming or returned goods.

Continue planning this space

Talk to a Designer