Elixir layout studio

14 × 14 ft Shopfront Entry Layout for Retail Shops

Compare scaled 14 × 14 ft shopfront entry layouts for retail shops. See what fits, test door swing and measure open floor area.

Open the planner
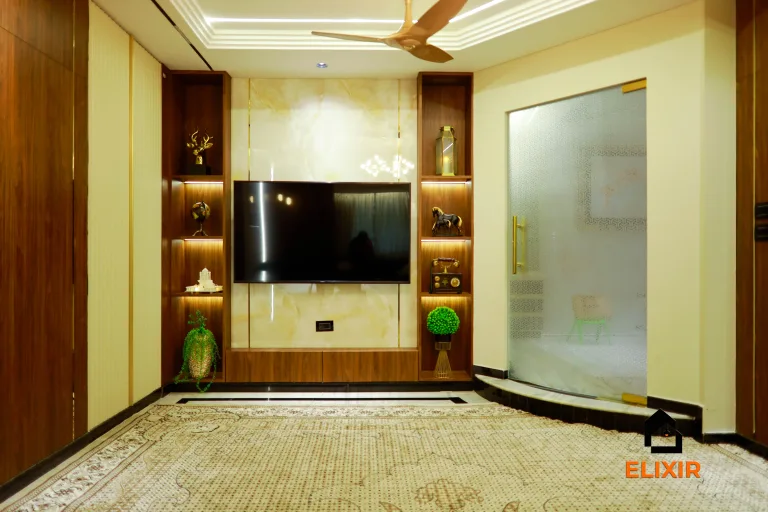
Living area with a glass partition beside a television wall
Entry inspiration: glazed separation that preserves borrowed light.

Elixir · Layout study

Three ways to plan the room

Commercial arrival areas handle check-in, waiting, and onward movement at the same time. These options use movable desk and seating footprints to separate the welcome point from passing circulation.

Working canvas14 × 14 ft

14 × 14 ft/196 sq ft/3 of 3 layouts fit

Share this size
At a glance

Separate check-in and pickup leaves the most open floor area · 173.3 sq ft

Illustrative footprints only. Check actual openings, columns, connections, operating space, and applicable requirements on site. Shared links save room size; door settings stay in this session.

Study 01

Desk to one side

Fits
Desk to one side plan at 14 by 14 feetScaled room outline with 3 numbered furniture footprints, annotated wall dimensions. Element dimensions and the key appear in Plan notes.12314′ 0″14′ 0″FRONTBACK WALL
Open floor
171.5 sq ft
Clear rectangle
10′ 6″ × 12′ 0″
Plan notes 3 elements
  1. 1Reception counter2′ 0″ × 5′ 0″
  2. 2Waiting bench5′ 0″ × 2′ 0″
  3. 3Queue marker zone1′ 6″ × 3′ 0″

Place check-in along the left wall, a short waiting bench at the back, and a defined queue strip opposite the counter. Keep the middle as the route onward to the service or guest area.

Trade-off: This creates a clear sequence from arrival to waiting, but the waiting bench is farther from the counter than in a compact lobby.
Study 02

Counter facing entry

Fits
Counter facing entry plan at 14 by 14 feetScaled room outline with 3 numbered furniture footprints, annotated wall dimensions. Element dimensions and the key appear in Plan notes.12314′ 0″14′ 0″FRONTBACK WALL
Open floor
168.8 sq ft
Clear rectangle
10′ 2″ × 12′ 0″
Plan notes 3 elements
  1. 1Welcome counter6′ 0″ × 2′ 0″
  2. 2Waiting chairs2′ 6″ × 4′ 6″
  3. 3Guest bag shelf1′ 4″ × 3′ 0″

Set the counter on the back edge where it can be seen on entry. Put waiting chairs to one side and a small bag or parcel landing to the other, leaving a direct central approach.

Trade-off: A visible counter simplifies first-time orientation, but it becomes the visual focus and may be too formal for a small café or boutique.

Study 03

Separate check-in and pickup

Fits
Separate check-in and pickup plan at 14 by 14 feetScaled room outline with 3 numbered furniture footprints, annotated wall dimensions. Element dimensions and the key appear in Plan notes.12314′ 0″14′ 0″FRONTBACK WALL
Open floor
173.3 sq ft
Clear rectangle
9′ 6″ × 12′ 8″
Plan notes 3 elements
  1. 1Check-in counter2′ 0″ × 4′ 0″
  2. 2Pickup shelf3′ 6″ × 1′ 4″
  3. 3Waiting seats2′ 6″ × 4′ 0″

Keep staffed check-in on the left, collection or paperwork at the back, and waiting seats on the right. This suits spaces where visitors arrive for more than one type of service.

Trade-off: Distinct destinations reduce crowding at the desk, but visitors need clear signs to know which point to approach first.

The Elixir portfolio

Details worth a closer look

Photographs for design inspiration
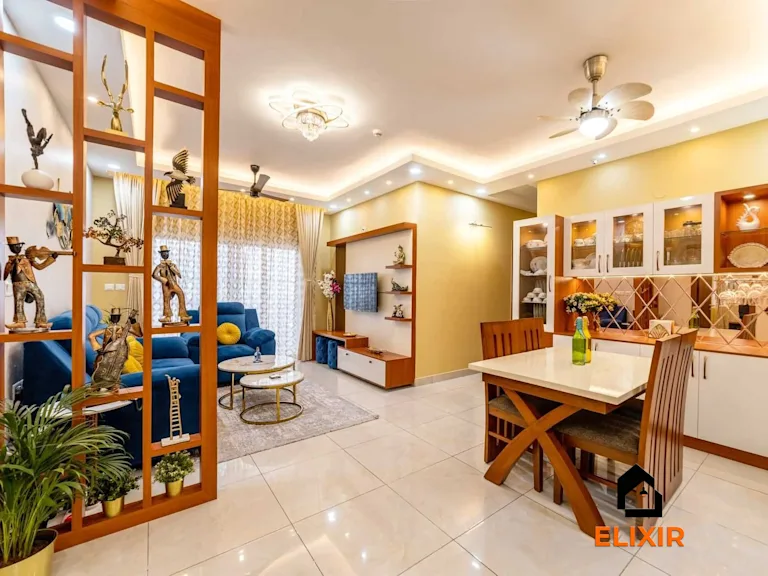
Living room seating group with a clear approach from the front of the room
Arrival inspiration: keep the first route into the room open.
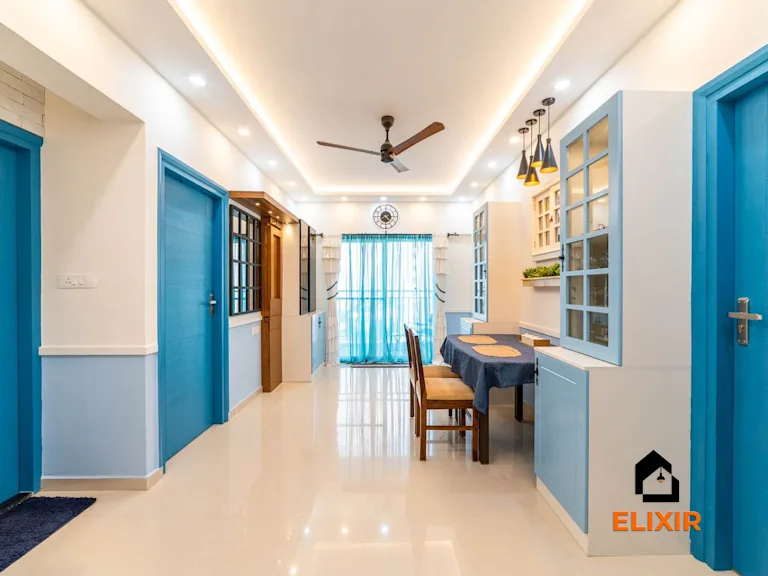
Entry corridor leading toward a dining area beside a glass-front cabinet
Entry inspiration: a clear approach and shallow landing storage.
Wood display partition between an entry-side passage and living room
Entry inspiration: a permeable divider that softens direct sightlines.

Size study

What fits in 14 × 14 ft

3 of 3 footprints fit before reserving door swing.

Open floor and footprint conflicts
ArrangementFootprint resultLargest open rectangle
Desk to one side171.5 sq ft open floor126 × 144 in
Counter facing entry168.8 sq ft open floor122 × 144 in
Separate check-in and pickup173.3 sq ft open floor114 × 152 in
Where the door changes the plan

Each test reserves a 32-inch square at the centre of one wall. Move the door in the planner to check your opening.

  • front wall

    Desk to one side, Counter facing entry, Separate check-in and pickup

  • left wall

    Separate check-in and pickup

    Swing conflict: Desk to one side, Counter facing entry.

  • right wall

    Desk to one side

    Swing conflict: Counter facing entry, Separate check-in and pickup.

  • back wall

    Separate check-in and pickup

    Swing conflict: Desk to one side, Counter facing entry.

What an extra foot buys you

Changes to the largest clear rectangle before reserving door swing.

One foot wider · 15 × 14 ft

The same options fit.

  • Desk to one side: +12 in wide, 0 in deep
  • Counter facing entry: +12 in wide, 0 in deep
  • Separate check-in and pickup: +12 in wide, 0 in deep

One foot deeper · 14 × 15 ft

The same options fit.

  • Desk to one side: 0 in wide, +12 in deep
  • Counter facing entry: 0 in wide, +12 in deep
  • Separate check-in and pickup: 0 in wide, +12 in deep

Before you measure

Room notes and site checks
Layout
Keep the first few steps open and position the welcome display to one side of the natural entry path.
Detail
Use a durable threshold and lighting that makes the first merchandise zone distinct from the street.
Trade-off
A dense window story attracts attention but can obscure views into the store.
  • View displays from across the street
  • Walk in carrying a shopping bag
  • Simulate an arrival queue and a person leaving at the same time; note any crossing at the entrance.
  • Check counter staff can see the entry and reach stored paperwork without stepping into the queue.
  • Test the waiting setup with bags, mobility aids, or coats that visitors commonly bring.

Continue planning this space

Talk to a Designer