Elixir layout studio

16 × 16 ft Meeting Room Layout for Offices

Compare scaled 16 × 16 ft meeting room layouts for offices. See what fits, test door swing and measure open floor area.

Open the planner
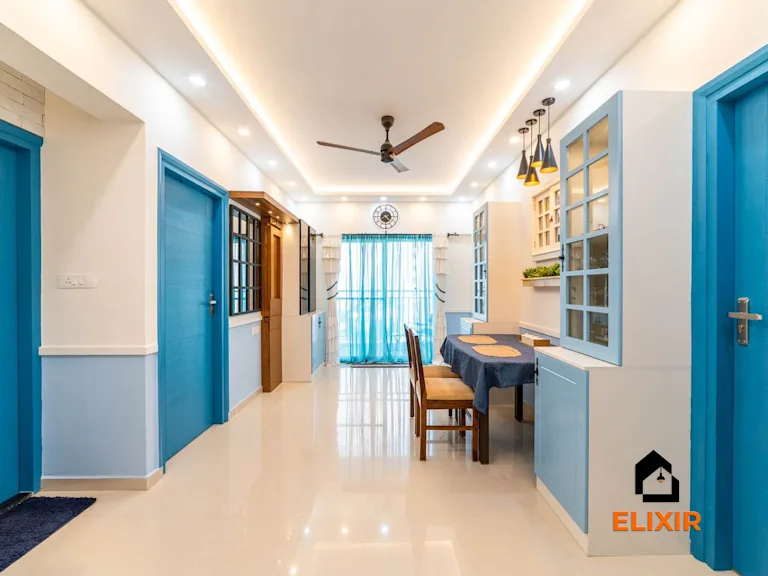
Entry corridor opening toward a dining area with a glass-front cabinet
Arrival inspiration: keep the route into a shared dining space legible.

Elixir · Layout study

Three ways to plan the room

Meeting, demonstration, and group activity rooms need a clear focal edge and a place for participants to gather or reset. These alternatives shift the front, table, or equipment position to suit different session styles.

Working canvas16 × 16 ft

16 × 16 ft/256 sq ft/3 of 3 layouts fit

Share this size
At a glance

Open floor with perimeter stations leaves the most open floor area · 230 sq ft

Illustrative footprints only. Check actual openings, columns, connections, operating space, and applicable requirements on site. Shared links save room size; door settings stay in this session.

Study 01

Front-facing session

Fits
Front-facing session plan at 16 by 16 feetScaled room outline with 3 numbered furniture footprints, annotated wall dimensions. Element dimensions and the key appear in Plan notes.12316′ 0″16′ 0″FRONTBACK WALL
Open floor
228.3 sq ft
Clear rectangle
11′ 10″ × 15′ 0″
Plan notes 3 elements
  1. 1Presentation surface6′ 0″ × 1′ 0″
  2. 2Participant table2′ 6″ × 6′ 0″
  3. 3Equipment cabinet1′ 8″ × 4′ 0″

Set the presentation surface on the back wall, participants along the left side, and equipment storage on the right. Keep a clear central strip for a presenter or demonstrator.

Trade-off: A defined front makes presentations easy to follow, but the room is less suited to circular discussion or movement-based sessions.
Study 02

Central working table

Fits
Central working table plan at 16 by 16 feetScaled room outline with 3 numbered furniture footprints, annotated wall dimensions. Element dimensions and the key appear in Plan notes.12316′ 0″16′ 0″FRONTBACK WALL
Open floor
222.5 sq ft
Clear rectangle
13′ 4″ × 13′ 0″
Plan notes 3 elements
  1. 1Shared work table7′ 0″ × 3′ 0″
  2. 2Display wall1′ 0″ × 5′ 0″
  3. 3Sample and tool storage1′ 8″ × 4′ 6″

Center the shared work surface toward the back, with a display edge on the left and materials storage on the right. This arrangement supports collaborative review of samples or plans.

Trade-off: A substantial table gives everyone a common work surface, but it reduces room for stand-up demonstrations or open movement.

Study 03

Open floor with perimeter stations

Fits
Open floor with perimeter stations plan at 16 by 16 feetScaled room outline with 3 numbered furniture footprints, annotated wall dimensions. Element dimensions and the key appear in Plan notes.12316′ 0″16′ 0″FRONTBACK WALL
Open floor
230 sq ft
Clear rectangle
12′ 0″ × 14′ 0″
Plan notes 3 elements
  1. 1Instructor or demo station5′ 0″ × 2′ 0″
  2. 2Stackable seating store2′ 0″ × 4′ 0″
  3. 3Equipment and materials2′ 0″ × 4′ 0″

Keep the center open for a group class or product demonstration, with the instructor station at the back and seating and materials stored on opposite sides.

Trade-off: The open floor can switch uses quickly, but each session needs a deliberate setup and reset routine.

The Elixir portfolio

Details worth a closer look

Photographs for design inspiration
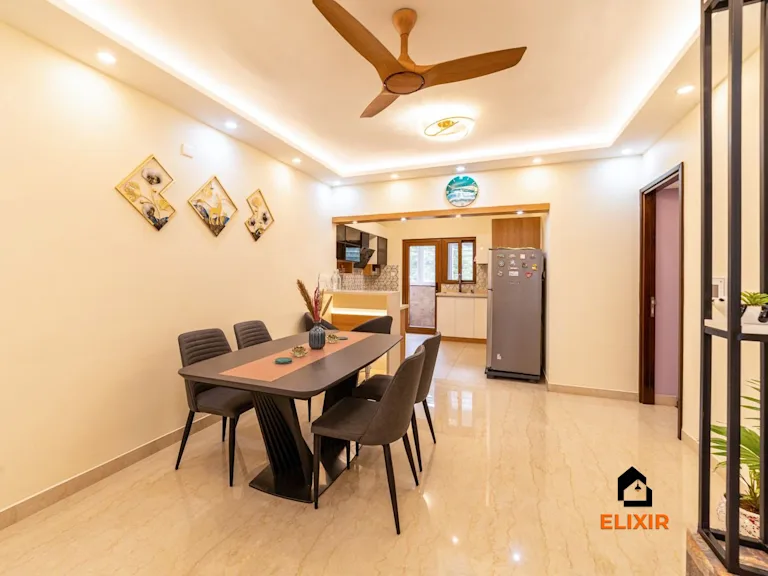
Dining area with a six-seat table and pendant light
Dining inspiration: a central table beneath focused pendant lighting.
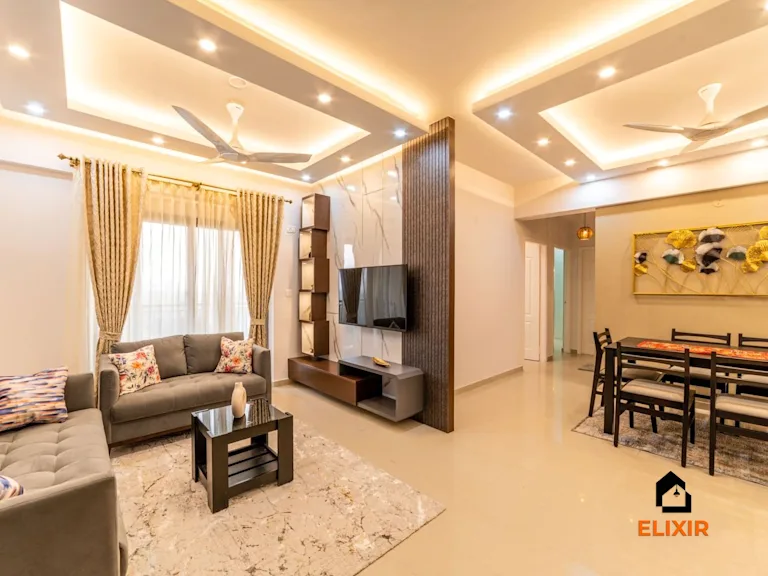
Open dining and living area separated by a wood partition
Shared-space inspiration: distinguish dining and lounge zones with a light divider.
Two lounge chairs and a sofa arranged around a shared coffee table
Gathering inspiration: varied seats oriented toward a shared center.

Size study

What fits in 16 × 16 ft

3 of 3 footprints fit before reserving door swing.

Open floor and footprint conflicts
ArrangementFootprint resultLargest open rectangle
Front-facing session228.3 sq ft open floor142 × 180 in
Central working table222.5 sq ft open floor160 × 156 in
Open floor with perimeter stations230 sq ft open floor144 × 168 in
Where the door changes the plan

Each test reserves a 32-inch square at the centre of one wall. Move the door in the planner to check your opening.

  • front wall

    Front-facing session, Central working table, Open floor with perimeter stations

  • left wall

    Open floor with perimeter stations

    Swing conflict: Front-facing session, Central working table.

  • right wall

    Front-facing session, Open floor with perimeter stations

    Swing conflict: Central working table.

  • back wall

    None of these options fit with this swing.

    Swing conflict: Front-facing session, Central working table, Open floor with perimeter stations.

What an extra foot buys you

Changes to the largest clear rectangle before reserving door swing.

One foot wider · 17 × 16 ft

The same options fit.

  • Front-facing session: +12 in wide, 0 in deep
  • Central working table: +12 in wide, 0 in deep
  • Open floor with perimeter stations: +12 in wide, 0 in deep

One foot deeper · 16 × 17 ft

The same options fit.

  • Front-facing session: 0 in wide, +12 in deep
  • Central working table: 0 in wide, +12 in deep
  • Open floor with perimeter stations: 0 in wide, +12 in deep

Before you measure

Room notes and site checks
Layout
Center the table on the display wall and seat everyone within camera view, leaving a clear presenter position.
Detail
Use glare-controlled lighting on faces and a matte finish behind the display; route cables from the table edge.
Trade-off
A larger table helps group sessions but makes small meetings feel empty.
  • Test camera framing from the intended device
  • Check display visibility from every seat
  • Test sightlines from the farthest participant position to the presentation, demo, or instructor position.
  • Rehearse a session change from seated discussion to standing activity, including where chairs and materials go.
  • Check doors, screens, displays, and equipment storage do not intrude on the planned audience or movement area.

Continue planning this space

Talk to a Designer